Azure Functions Powershell Cheatsheet
Jun 5, 2021
5 mins read
Cheatsheet might be a bit of a lie though
TBH us bloggers just call something a cheat sheet when we can’t be bothered writing verbose instructions. I’ve made a few Powershell functions now and there’s a few bits and bobs that seem like they’d be really easy to do but they are not. Now it’s possible that all this info is in the massive Functions Powershell Developer reference but I am lazy so have collated the stuff I end up looking to see how I solved before into this blog post.
This post might get updated or I might put new stuff in a new post. Gotta get those clicks! I’m not going into how to deploy any of this via Azure DevOPs or a git repo etc etc. Loads of info about that. This blog is just showing how you’d do it through the portal like an absolute baboon
Contents:
- Connecting to Azure AD
- Getting EasyAuth login data
- Formatting the Json for the output.
- App Settings in the Powershell script.
Requirements/Assumptions:
- You’ll know a bit about Functions in general
- You know how to give your Function a managed identity.
- You know which RBAC roles to give your functions to achieve what you’re trying to do
- Its a V3 function with 64 bit Powershell 7
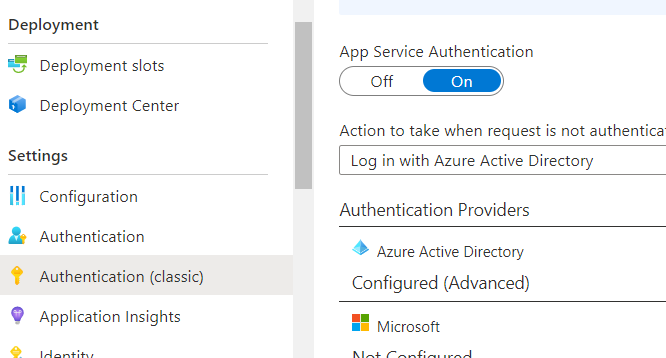
- You’ve enabled Easy Auth , picture shows classic way (only for the EasyAuth stuff)
Installing required powershell modules
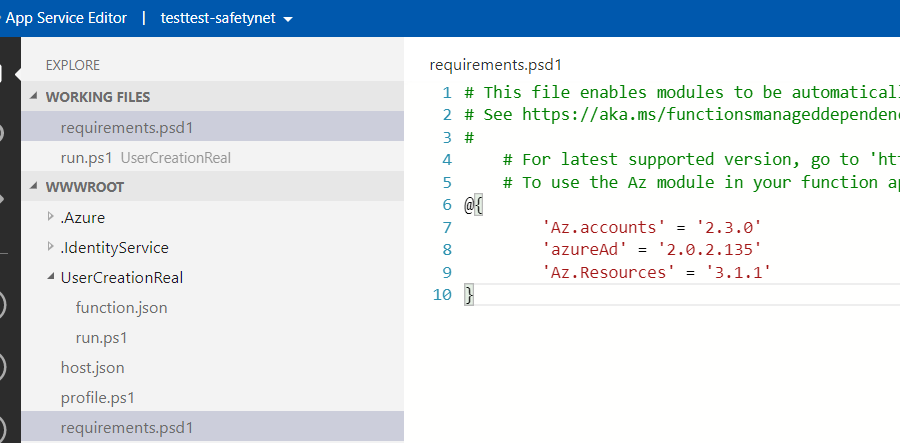
going to mention this just to make it easy for you but the functions app doesn’t come with the same modules etc as Azure Cloud Shell so you have to tell it what you need via the requirements file.
In the App Service Editor view, looks a bit like this. Which modules you put in depends what you’re trying to do. The first time you trigger a function they should install. There is plenty info on this out there if you get stuck.
Connecting to Azure AD
There’s a bit of a trick related to this and it’s that the AzureAd module only really works on Windows Powershell for some reason, so you have tell it to import using Windows Powershell and then it knows to use that for those commands.
Here’s a code sample of how to do what must be done, assuming you installed the module as per above.
using namespace System.Net

# Input bindings are passed in via param block.
param($Request, $TriggerMetadata)

#see how we're using windows powershell here
Import-Module AzureAD -UseWindowsPowershell

#you need to get an AAD token to be able to
#authenticate as your Managed Identity for the function.

$token = (Get-AzAccessToken -ResourceTypeName AadGraph).token
$currentAzureContext = Get-AzContext
$tenantId = $currentAzureContext.Tenant.Id
$accountId = $currentAzureContext.Account.Id
Connect-AzureAD -TenantId $tenantId -AccountId $accountId -AadAccessToken $token


# Pay attention to the fact that there's different Azure AD powershell cmdlets.
#if you can, use the Az ones rather then Azure.
#They're newer. But if one doesn't work, try the other.

$user = New-AzADUser -DisplayName $username -Password
$users = Get-AzureADUser -All $true | where {$_.DisplayName -like "TestUser*"}


# Assign the values to the variables
# If you don't do it this way , when you try to send to the push-output
# binding it just gives the object type and not the actual values.
#i.e. you can't cant just push $user.id itself.
$userid = $user.Id


# Associate values to output bindings by calling 'Push-OutputBinding'.
Push-OutputBinding -Name Response -Value ([HttpResponseContext]@{
    StatusCode = [HttpStatusCode]::OK
    Body = $userid
})
Getting EasyAuth login data
This one is super simple, there is more info you can get but here’s enough to get you moving
$User_name = $Request.Headers['X-MS-CLIENT-PRINCIPAL-NAME']
$User_id = $Request.Headers['X-MS-CLIENT-PRINCIPAL-ID']
Formatting the Json for the output.
#This format is excellent for outputting for programmatic response.
#The problem with it is that it can change the order of keys
#e.g. User_id might come first.
#That will be totally fine, unless you're trying to put instructions back to the browser

$projectJSON = @{
    "templateParameters" =  @{
        Delay_in_min = $delay
        TFState_Key = "$($User_name)".Split('@')[0] + ".tfstate"
        User_Id = "$User_Id"
    }
} | ConvertTo-Json

$response = Invoke-RestMethod -Uri $createProjectURL -Method Post -ContentType "application/json" -Headers $header -Body ($projectJSON )
#If you need it to be exactly the same order you need to do this:
#basically just creating a hash table. Note the lack of having to convert to Json.
#This can go straight to Push-OutputBinding as the body.

$body = @"
[{
        Username = $UPN
        Password = $password
        Logon_Instructions1 = "The user should sign into the Uri above, it will take up to 10 minutes to deploy the environment."
        Logon_Instructions2 = "After 10 minutes, user should sign into https://portal.azure.com and they will see resources."
        Logon_Instructions3 = "They will be prompted to change their password. They do not need to setup extra auth."
        Logon_Instructions4 = "The user creds will last for 7 days."
}]
"@
App Settings in the Powershell Scripts.
Super simple. Anything in App Settings becomes Env Settings you can call usual way.
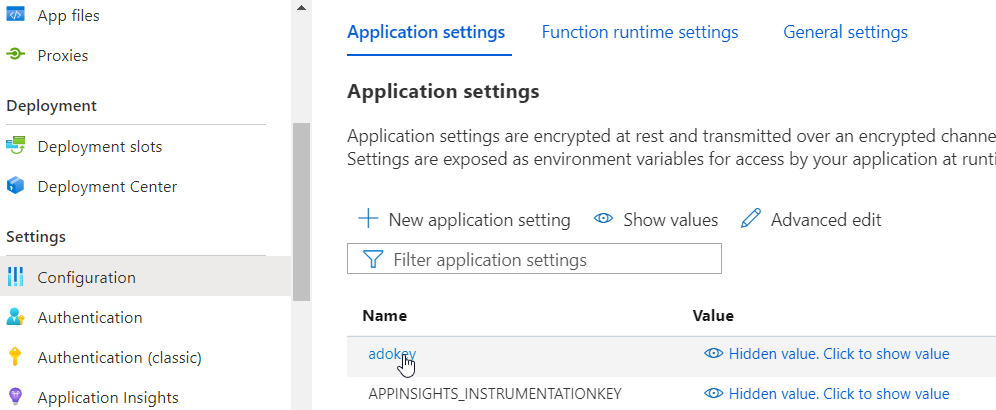
#be aware, secret can be exposed this way.
write-host $env:adokey
Unnecessary buttons