Azure Devops Pipeline Agent on M1 Macbook Using Podman and VScode
Apr 4, 2022
4 mins read

Build Azure Devops Pipeline Agent on M1 Macbook using Podman and VScode
This post will show you how to
- Install and lightly troubleshoot podman on M1 macs
- Setup VScode to use podman instead of docker with the docker extension and remote container development
- Build and run Azure Devops Agent container image locally on M1 macbook.
With the release of the M1 macbooks and various glowing reports I felt it was time to try one. Macbook Air (2nd hand) One of the negatives is that it’s a different Architecture than I’m used to (I also had never used MacOS previously!). I thought I’d take the opportunity, in combination with Docker’s recent licensing changes, to also try podman.
You know what they say; why change just a little when you can change a lot and really double down on confounders. That well known phrase.
If you don’t know what the hoopla about docker is about, basically it costs money for docker desktop if you work for a company of 250 or more. It’s totally reasonable but sometimes it can prompt you to investigate alternatives.
Nothing in this blog is particularly genius, it’s just minor tweaks to official blogs and things I ran across causing me problems. I’m not going to link to easily searchable pages, and I’ll have an assumption you know some of these terms.
Podman on m1 macs
Installing Podman
Official RedHat installation instructions. V3.4+ required I used brew. First time using that. Installed that from the site and added to path as per the instructions that come up on install. This worked perfectly well for me. Though do check out the extra commands on the link. There’s not many.
Setting up to replace Docker in VScode and system wide
Replace Docker with Podman I used elements of this. Skipping the install part as I covered that above.
- Install VScode
- Install Remote - Containers extension for VScode
- Install Docker extension for VScode
- Install podman-compose (pip3 install podman-compose)
You then set all these to use podman instead of docker.
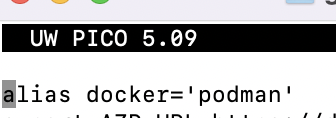
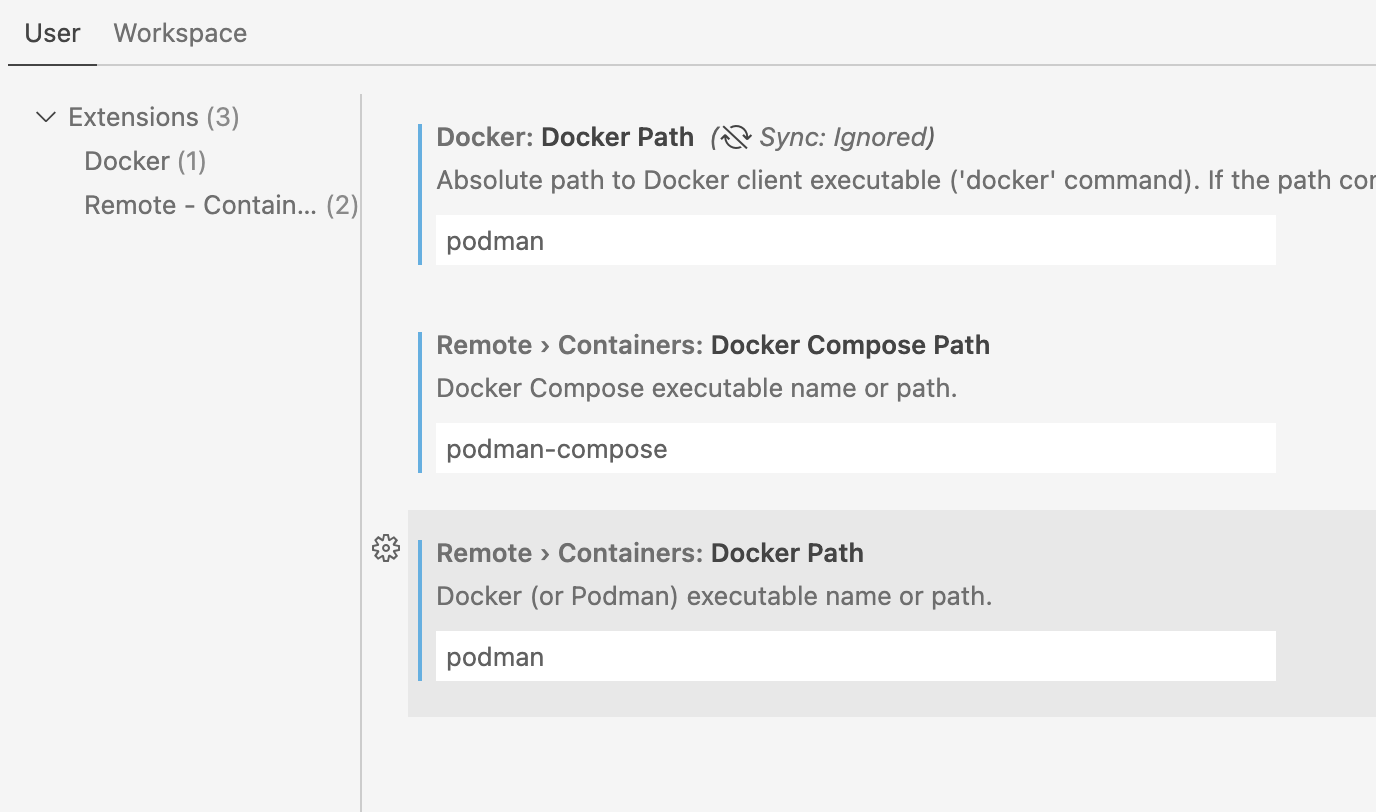 As a final setting, add an alias to zsh for podman, over docker.
Alias for zsh
As a final setting, add an alias to zsh for podman, over docker.
Alias for zsh
I followed this one and just added so looks like this
After that , everything in VScode worked as expected for the extensions.
Build and Run Azure Devops Docker agent on M1 Macbook and Podman
Microsoft Official Instructions
My Implementation of Microsoft Office Instructions
Not much to say here except I followed this pretty much wholesale. You may run into an error during build though:
- ./config.sh: line 85: ./bin/Agent.Listener: cannot execute binary file
This is because the script that pulls down the agent has picked the wrong architecture for the agent files. You have to feed it in a target architecture Note I’ve added in AZP_URL and AZP_TOKEN to my environment variables so I don’t need to paste those in.
podman run -e AZP_URL=$AZP_URL -e AZP_TOKEN=$AZP_TOKEN -e TARGETARCH=linux-arm64 dockeragent
Finished!
So I’m pretty novice in this and have barely done anything but thought I’d put together a nice concise guide for what I had got working so far. If anything else comes up I’ll add it as I go.
Troubleshooting Podman on m1
Release file not valid error
I did run into an error when I actually tried to build a ubuntu image though which was similar to the below.
E: Release file for http://security.ubuntu.com/ubuntu/dists/bionic-security/InRelease is not valid yet (invalid for another 9h 14min 10s). Updates for this repository will not be applied.
The problem was the podman machine had a different time from my local macbook.
I checked this using ‘podman machine ssh’ and then ‘date’. This confirmed the podman machine was an hour behind.
There are timezone commands for ‘podman machine init’ but it defaults to ’local’ which should have worked but didn’t.
I deleted the machine using ‘podman machine delete’ (I think) and then recreated it. SSH and date confirmed same same.
The podman build then worked.
Container needs to be root
Podman machine has a command to switch between root and rootless. See redhat link from earlier
Unnecessary buttons