Keda and Minikube on M1 Macbook for Self Triggering ADO Agents
Apr 7, 2022
5 mins read
Event based Scaling Kubernetes with Azure Devops
My continuing adventures with trying new stuff on the M1 macbook.
This is my first macbook and first time using minikube and also keda and first time using arm64 for anything big.
That’s a smart combination to do right?
There’s good guides all over.
I’ll be done in no time!
9 hours 27 minutes later…
Well okay… Instructions and Gotchas follow.
Index
Files: Github link with files
- install podman and setup podman machine
- install kubernetes extension on vscode
- install minikube and setup - gotchas with podman env and vscode
- install keda - gotchas with versions pre 2.7 (unreleased)
- Azure DevOps Agent build onto minikube cache
- Running the sample from keda and changes required for podman
install podman and setup podman machine
See previous post but also minikube requires 2 cpus so the podman machine command has to have that and it might need root, not sure so I used root.
Here’s the command used to init the machine.
I think unfortunately there’s no way of changing the cpu number so you’ll have to delete it if you made it with the default of 1.
podman machine init --cpus=2 --rootful=true --now
Troubleshooting podman setup
About the only thing I had to do to troubleshoot when I had typed too many wrong things in a row is
podman machine stop
podman machine rm (might take a minute for machine to stop)
brew uninstall podman
rm -r ~/.redhat
and that basically resets you back to nothing
install and setup minikube
brew install minikube
minikube start --driver=podman --container-runtime=cri-o
Podman-env - doesn’t work at present due to mismatched versions.
After you install this, Vscode may no longer show current containers etc in the Docker Extension gui. I’m not sure how to fix it.
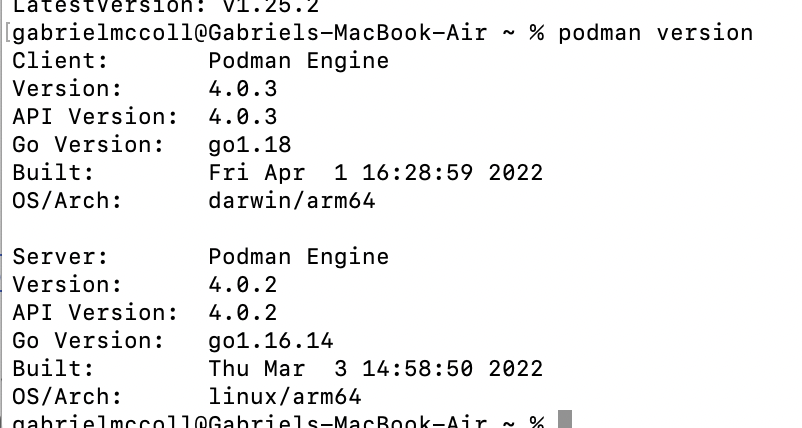
At present the version of Podman is too low to integrate with the Podman client we install on the M1. It is version 3.x, while podman is 4.0, which is why podman env doesn’t work. I think.
If your versions of podman and minikube match by the time you’re doing this, as per picture. You might be okay.
minikube ssh and sudo podman version
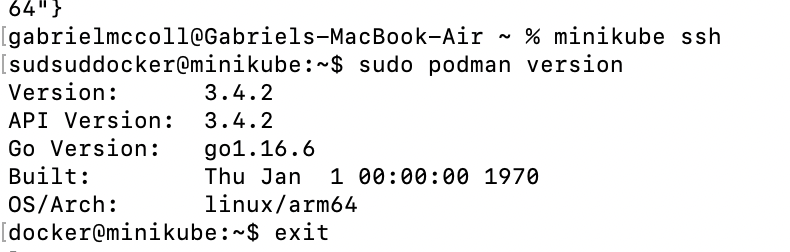
podman version check
Watch out for the minikube -unset command to revert back if it doesn’t work for you.
Troubleshooting minikube setup
If you’ve made a pile of mistakes and need to reset this should get you back to base
minikube delete
brew uninstall minikube
rm -r ~/.minikube
install kubernetes (k8s) extension to vscode
Nothing fancy - just install this one and done.
install keda
![]() Depending on what version of keda this might be easier or harder. Not hard if you follow this blog though!
AM I NOT MERCIFUL!?
Depending on what version of keda this might be easier or harder. Not hard if you follow this blog though!
AM I NOT MERCIFUL!?
arm64 support isn’t coming until 2.7 of keda so that means that, at time of writing, it’s not coming out for a couple months.
A very nice commenter has compiled a version suitable for arm64 and I have replaced those in the yaml provided by keda to deploy keda.
This means you have to not use the helm chart installation method as it will deploy some pieces that won’t work.
The file that is keda-..*.yml in my github is what you need.
Just kubectl apply -f and you’ll be happy as a bumblebee in a field of flowers.
Use the Kubernetes extension in vscode to check the keda namespace and that all the pods are up.
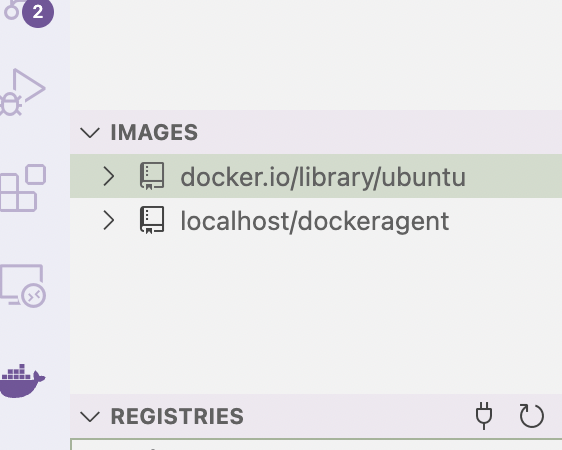
building the image onto minikube cache
There’s a few ways to get the image onto minikubes cache , the only one I got working is using the command in the same place (i.e. where the dockerfile etc is) I would normally run just straight podman build.
**check it**
    minikube image list
**build it**
    minikube image build -t dockeragent:latest .
Once you see the dockeragent image sitting in minikube you’re good.
Well we made it - running the K8s deployment of ADO Agent.
Following this article for the scheduledjobs part at the bottom mostly but swapped it to engage with podman socket. See the Yaml for it at the link below.
I don’t know swaping the docker.sock for podman.sock is needed, I think podman install basically does that for you but I did it anyway and it worked.
Watch out for history setting in the yaml it’s basically what clears up pods.
 successfulJobsHistoryLimit: 0
  failedJobsHistoryLimit: 0
  maxReplicaCount: 10

  scalingStrategy:
    strategy: "default"
  triggers:
  - type: azure-pipelines
    metadata:
i.e. if it’s set to 2 and you run two jobs, you will see 2 completed pods if you run ‘kubectl get pods’ which take resources. Also by the time of writing I might have swapped out putting the secret of the PAT straight in.
In my experience all the Permissions needed for the PAT is
'read pipelines'
'read/manage agent pools'
You could potentially break this up into two PATs I think but I haven’t tried it this iteratiojn.
Quick Test
trigger:
- none

pool: 'gmtest' #whichever pool you're using for the agents

steps:

- script: |
        sleep 60
  displayName: 'wait 60 seconds'
I’ve added a sleep into the basic pipeline just to make sure there’s time for a queue to work.
Check polling time in the yaml for the keda trigger and adjust as appropriate
Basically as per the article, just queue up a few jobs and a few pods should be spun up. NICE!
extra troubleshooting
I had some problems with the pods failing to connect
kubectl get pods

**NAME                             READY   STATUS    RESTARTS   AGE
azdevops-scaledjob-vht28-qn9wg   1/1     Running   0          <invalid>
azdevops-scaledjob-z5kn6-wgl7f   1/1     Running   0 **

kubectl logs azdevops-scaledjob-vht28-qn9wg

** - /azp/_diag/Agent_20220407-210819-utc.log
The local machine's clock may be out of sync with the server time by more than five minutes. Please sync your clock with your domain or internet time and try again.
**
and I followed this page to set my time and timezone to make it match up. Both on Podman Machine SSH and minikube SSH
Unnecessary buttons